Marketing your Art workshop with Helena Tay
Wednesday, May 6th, 2015
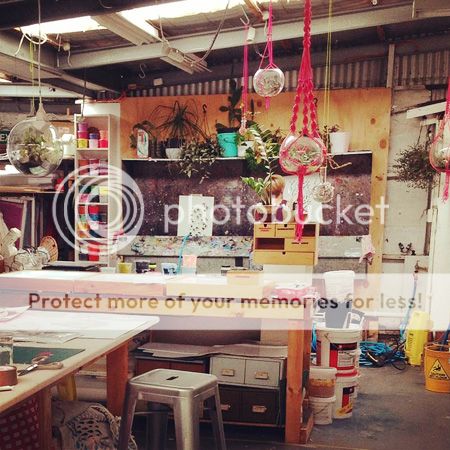
Thanks to the organisers from City of Mandurah, I also had the opportunity to run another art workshop at Contemporary Art Spaces Mandurah. This workshop focused on Marketing your Art to a target audience. I spent the afternoon with some talented WA painters, glass artists, sculptors, digital artists, illustrators, photographers and astrologist, talking about my story and my approach to marketing myself as an artist.
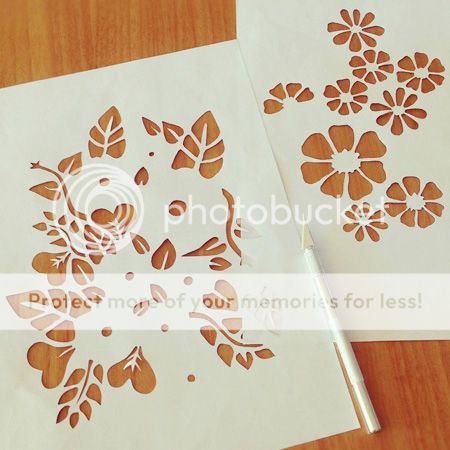
After the workshop we did a casual drawing session, which will be exhibited at their gallery space.


To be honest, I was a little nervous about talking at this workshop mostly because I don’t consider myself a marketing expert. My art and business has been self-taught and I still have so much to grow. I would say that I am lucky to have the gracious support from my fans and customers over this 6 years.
As discussed at the workshop, I’ve approached my art and business as an outlet to express myself and work on my technique. I try not to think about the numbers or what’s trendy in the market. When I first started illustrating my stationery range, I received lots of rejections and comments about my art being “too cute” and if I could draw plainer designs without my Little Mo character. I wrote about that experience in my blog post art vs art a couple years back.

Since that incident, I continued drawing my cute illustrations. I focused on my uniqueness and just kept drawing and sharing my art on Facebook and Instagram.
If you’re an artist reading this, and at times feel like you’re unsure of your work or that nobody appreciates your art, don’t be discouraged! Continue creating your art and continue sharing it to your audience. Not only will you be creating new pieces from time to time, you’ll be improving your skills, techniques and mental well-being. When you are creating “happy art”, your audience will want to share your happiness too and they will want to support you!
Lastly, thanks to all the lovely ladies who came to my workshop! They are all wonderful artists and I wish them every success in their own endeavours! Do check out some of their works!
www.ashleighperrella.com
www.handmadewonderland.net
www.marionfroome.com
www.karenbarnes.com.au
www.facebook.com/corrinerapleyartist
www.facebook.com/carmelsayerartist
www.facebook.com/AmandaJRichardsPhotography
www.facebook.com/cindywrightartistandworkshops