DIY house shelf
Many of you have asked how I made my little house shelf. So I’m sharing this tutorial so that you can make your own.

You can make it to any size, and you can prop it up in your work room or your kid’s room to display children’s books, magazines, letters or anything you fancy:)

Outline your house on the wood. Mine is an MDF panel board from Bunnings. It cost $11.50. It’s sort of ‘medium’ in thickness. Not too thick and heavy, and not too thin either. My father in-law helped me cut it.
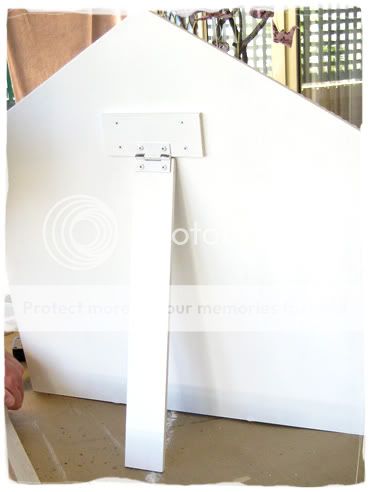
We used two pieces of wood and a hinge to make the stand.
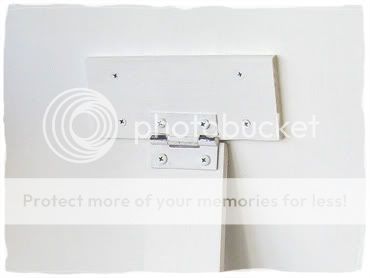
It’s easier to make the stand when the house is flat.

We glued wood moulding to decorate the border of the house. You can get lots of different patterns like flowers and vines. They come in a long strip. I chose a simple pattern called rope. They are all available at Bunnings.

We made two basic shelves. We outlined on the wood first.

Then we glued and nailed the shelves on.

The fun part is colouring the house. I painted mine white because I only had white paint at that time. But you can colour yours in something colourful and stick plenty of fun stuff on it!
One of these days I might re-paint mine..in stripes or polka dots maybe:)


January 24th, 2010 at 10:37 pm
thank you for sharing, i think this is so clever. well done
January 25th, 2010 at 1:01 pm
You are really amazing and the shelf that you have made here is also beautiful. Thanks and I am very happy to see it.
January 26th, 2010 at 1:32 pm
You clever thing you! I love it!
January 30th, 2010 at 11:48 am
Wow, that is fantastic – thanks so much for the tutorial, you have inspired me to spruce up my market stall displays!